How to add a DKIM signature for your domain in Zoho?
Once you have created a DKIM TXT record in your domain’s DNS manager, you can turn on DKIM for your domain from Zoho Mail’s control panel. DKIM configuration happens in 3 steps. Let’s see how these steps unfold to inform recipients if the email content was altered in transit.
Step 1- Generate a unique domain key in Zoho mail
- Log in to the Zoho Mail Control Panel as an administrator.
- In the left menu, go to Domains and select the domain to configure DKIM.
- In the Email Configuration tab, choose DKIM.
- Click Add to create a new selector.
- Enter a selector name (e.g., ‘zoho’) and click Add.
- Copy the TXT record generated.
- Add this TXT record to your DNS Manager, then click Verify in Zoho Mail.

Step 2- Creating TXT record in the DNS manager
- Log in to your domain’s DNS Manager.
- Create a new TXT record with the name: <selector>._domainkey.<yourdomain.com>. Example: If your selector is ‘zoho’ and your domain is ‘domain.org, the name would be `zoho._domainkey.domain.org.`
(For providers like GoDaddy, WIX, etc., use `zoho._domainkey` — the domain name will be added automatically.)
- In the TXT record value, paste the content you copied from Zoho.
- Save the TXT record.
- Use a DKIM checker to verify the setup.
Step 3- Turning on DKIM for the domain
- After successfully validating DKIM on the third-party site, log in to the Zoho Mail Control Panel.
- Click Verify next to the specific selector.
- The text record will update to Verified.
- You’ll get a prompt to enable DKIM right away or later.
- If you enable DKIM immediately, DKIM signatures will be added to all outgoing emails from your domain.

Troubleshooting common DMARC issues
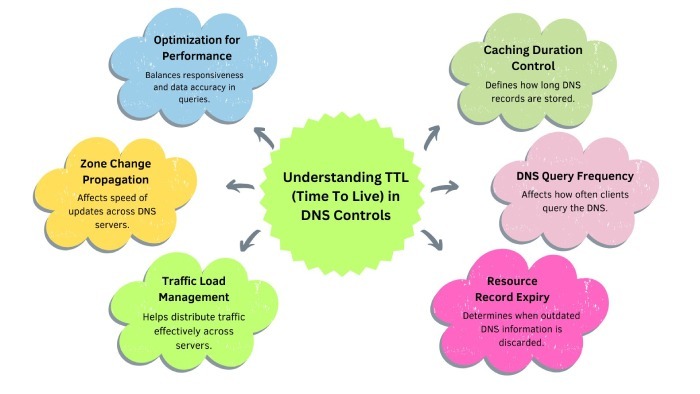
Setting TTL
TTL (Time To Live) in DNS controls how long it takes for DNS changes to take effect. If you set a high TTL value, like 24 or 48 hours, updates to records like TXT or SPF may take longer to propagate, sometimes up to 12 to 24 hours, depending on the TTL you choose.
Inaccurate values
SPF records may need to be added differently depending on which provider you use. To ensure you get proper guidance on adding a DKIM record, you can check the ‘help’ pages or contact your provider’s support team.
Spelling mistakes
Make sure you’ve copied the correct information from the Zoho Setup pages. For DKIM, copy the entire key and use it as the value of the TXT Record. The TXT Record name should follow the recommended naming rules.

Final words
After configuring DKIM keys for Zoho, you should also enable DMARC. While it is optional, we recommend you also start receiving DMARC reports. We can help you uncomplicate and analyze aggregate and forensic reports so that you can make the right adjustments to your TXT records if needed. For more details about optimizing your email security, including how DuoCircle can enhance your DMARC implementation, contact us or book a demo.