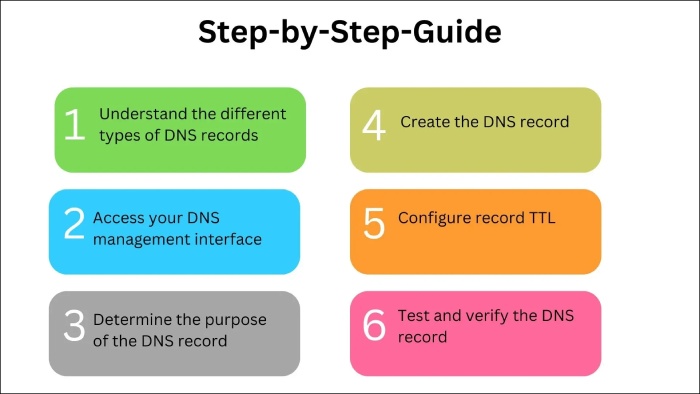
A Step-by-Step Guide For Adding SPF, DKIM, and DMARC Records to AWS DNS-Route 53
Before you follow these steps, check if your domain’s DNS already has the SPF, DKIM, and DMARC records. Redundancies make all your records invalid, neglecting the responsibility of these email authenticating agents. You can use online SPF, DKIM, and DMARC record lookup tools designed for email security assessment to ascertain this; all you have to do is enter your domain name and the type of record you want it to evaluate for you.
Adding an SPF Record to AWS DNS-Route 53
Here’s what you need to do-
- Log in to your Amazon Route 53 account.
- Go to the Route 53 ‘Dashboard’ section and then go to ‘DNS Management’ under it and choose the domain for which you want to add an SPF record.
- Next, click on ‘create record.’
- Add your SPF record type as ‘TXT.’ Don’t enter anything in the ‘Record Name’ section.
- Add the IP addresses to the same SPF record if you use sources with only IP addresses.
- Finish the process by clicking ‘Create Record.’
Ensure your SPF record looks something like this-
v=spf1 ip4:169.134.174.23/32 include:yourdomain.com ~all
Also note that multiple SPF records corresponding to a domain shouldn’t exist, as this leads to authentication failure. If there is more than one SPF record, use the ‘include’ mechanism to merge them into one.
Adding a DKIM Record to AWS DNS-Route 53
Before we talk about how to add a DKIM record to your Amazon Route 53, you should know that each email service provider has its own DKIM key pairs. So, go to your account first and retrieve the record details (type, name, and value).
Once done, follow these steps-
- Log in to your Amazon Route 53 account.
- Go to the Route 53 ‘Dashboard’ section and then go to ‘DNS Management’ under it and choose the domain for which you want to add a DKIM record.
- Next, click on ‘create record.’
- Add your DKIM Record Type, Record Name, and Value.
- Finish the process by clicking ‘Create Record.’
- Run it through a DKIM lookup tool to ensure it’s working properly.
Ensure your DKIM record looks something like this-
default._domainkey.example.com. IN TXT "v=DKIM1; k=rsa; p=MIGfMA0GCSqGSIb3DQEBAQUAA4GNADC
BiQKBgQD2GjmTSwzE7/Uoqv4RQmhs6vRk/
JuKknj2+2QsUNNY0XsbO4Xwef13r
DfsK0m5dPsbZbxFPxyYfjHY1HyH4ycqIkMXbT8pQu5MGJ64aIbw/
2UIJpjbF9pKxppRmJHQlO5zXq5Etc2+MoO9K1zh
YvHbFgRUIe3DfiJAvXjGYdLtqwIDAQAB"
Adding a DMARC Record to AWS DNS-Route 53
The process is more or less similar to what you did for SPF and DKIM.
- Generate your DMARC record using an online DMARC record generator and copy the DMARC Record Type, Record Name, and Value.
- After generating the DMARC record, go to your Amazon Route 53 account and click ‘Create Record.’
- Add your DMARC Record Type, Record Name, and Value to the corresponding fields.
Your DMARC record should look something like this-
v=DMARC1; p=none; rua=mailto:dmarc-reports@yourdomain.com; ruf=mailto:dmarc-failures@yourdomain
We recommend starting your DMARC setup in ‘Monitoring’ mode (p=none). This allows you to gather reports and identify legitimate email servers in your organization. Once you’re confident in your configurations, you can enforce stricter policies like ‘Quarantine’ and ‘Reject.’
Reach out to us to help you with the above processes or anything else related to email authentication through SPF, DKIM, and DMARC. We have a team of tech ninjas to serve you with the best.


